12 Jun Replacing a Toilet
The most important consideration when deciding whether to replace your own toilet is the floor construction and age. Many homeowners have been dismayed to learn after pulling up their toilet that the wood subfloor is rotted or the cast iron pipes are corroded, or both.
This is especially common in older homes that may have already had several replacements of previously leaking toilets over the years. And in older homes with cast iron plumbing, sooner or later the cast iron begins to deteriorate.
If you live in a home that’s more than 15 years old and has a wood subfloor under the toilet, proceed with caution unless you know the condition of the floor underneath. You could encounter conditions beyond your ability to repair.
On the other hand, if your bathroom floor is a concrete slab or your home is newer, or you’re certain the floor condition is sound, replacing the toilet can be fairly simple if you keep the following tips in mind.
Removing the Toilet
First, turn off the water supply at the valve handle behind your toilet, and then flush it to empty the tank. If you’re going to be carrying your old toilet out over carpeting, you may want to sop up the remaining water in the tank and bowl using a sponge or mop so it doesn’t spill on the way out. Or, you can put down plastic sheeting in your path to catch spills.
Next, disconnect the water supply hose from the underside of the tank. Remove the two white caps covering the bolts at the base of the toilet and remove the nuts holding the toilet down.
If you’re not going to be carrying the toilet straight out, find a place where you can temporarily set the old toilet and put plastic sheeting or garbage bags down. This not only protects the floor from water, but also from the residue of the wax ring or other contaminants.
It’s best to have two people carry the toilet, but one strong person can do it by standing over the bowl with one foot on each side (sort of in a squat facing the tank), and lifting where the bowl connects to the tank. With your legs straddling the toilet and your elbows resting on your knees, you have to do a shuffle to navigate your way to the toilet’s landing place, but it can be done.
With a disposable putty knife and paper towels, clean whatever remains of the old wax ring from around the toilet drain, and clean up whatever leftover caulk there may be. A relatively clean and smooth surface will aid in installing the new toilet.
If you need or acquired new bolts for holding the toilet down, take out the old ones and install the new ones. They just slip in and out of slots in the ring around the drain.
Installing the New Toilet
Assemble your new toilet, if necessary, being careful to tighten the bolts between the tank and bowl well, without over tightening to the point of cracking the tank. If you don’t pay close attention to assembly, you’ll have leaks.
Turning the toilet upside down, press a new wax ring into place around the “horn” where the toilet drains. You can often buy wax rings that are thicker than the standard, and you’re well advised to buy the extra protection.
Be sure the bolts in the floor are in the right place and pointed up. You can take a little wax from the new ring to help fix the bolts in place if they’re inclined to fall over.
With a helper (or using the squat/straddle technique), maneuver the new toilet in place with the bolts protruding through the base. Install the nuts but don’t tighten them yet.
Make sure the toilet is square in its place. Pressing down on the sides of the bowl, push on one side then the other to see if the toilet rocks. If the floor is uneven, you’ll have to put some spacers under the low spot(s) to stabilize it. You can use small metal washers or plastic shims to accomplish this. You might want to put a level on the toilet to be sure you put the spacers under the low side.
Now tighten the nuts on the hold down bolts and recheck the toilet for rocking. Adjust the shims if needed.
When putting the white covers over the hold-down bolts, you may discover the bolts are too tall. Some have indentations allowing you to snap off the extra length with a pair of pliers. If not, you’ll have to cut them with a hacksaw.
Hook up the water supply, turn it back on, and test the toilet for leaks. Flush it a few times to be sure your wax ring is sealing well. Be sure to look for drips under the tank where the bolts are, and where the supply hose connects. Tighten if needed.
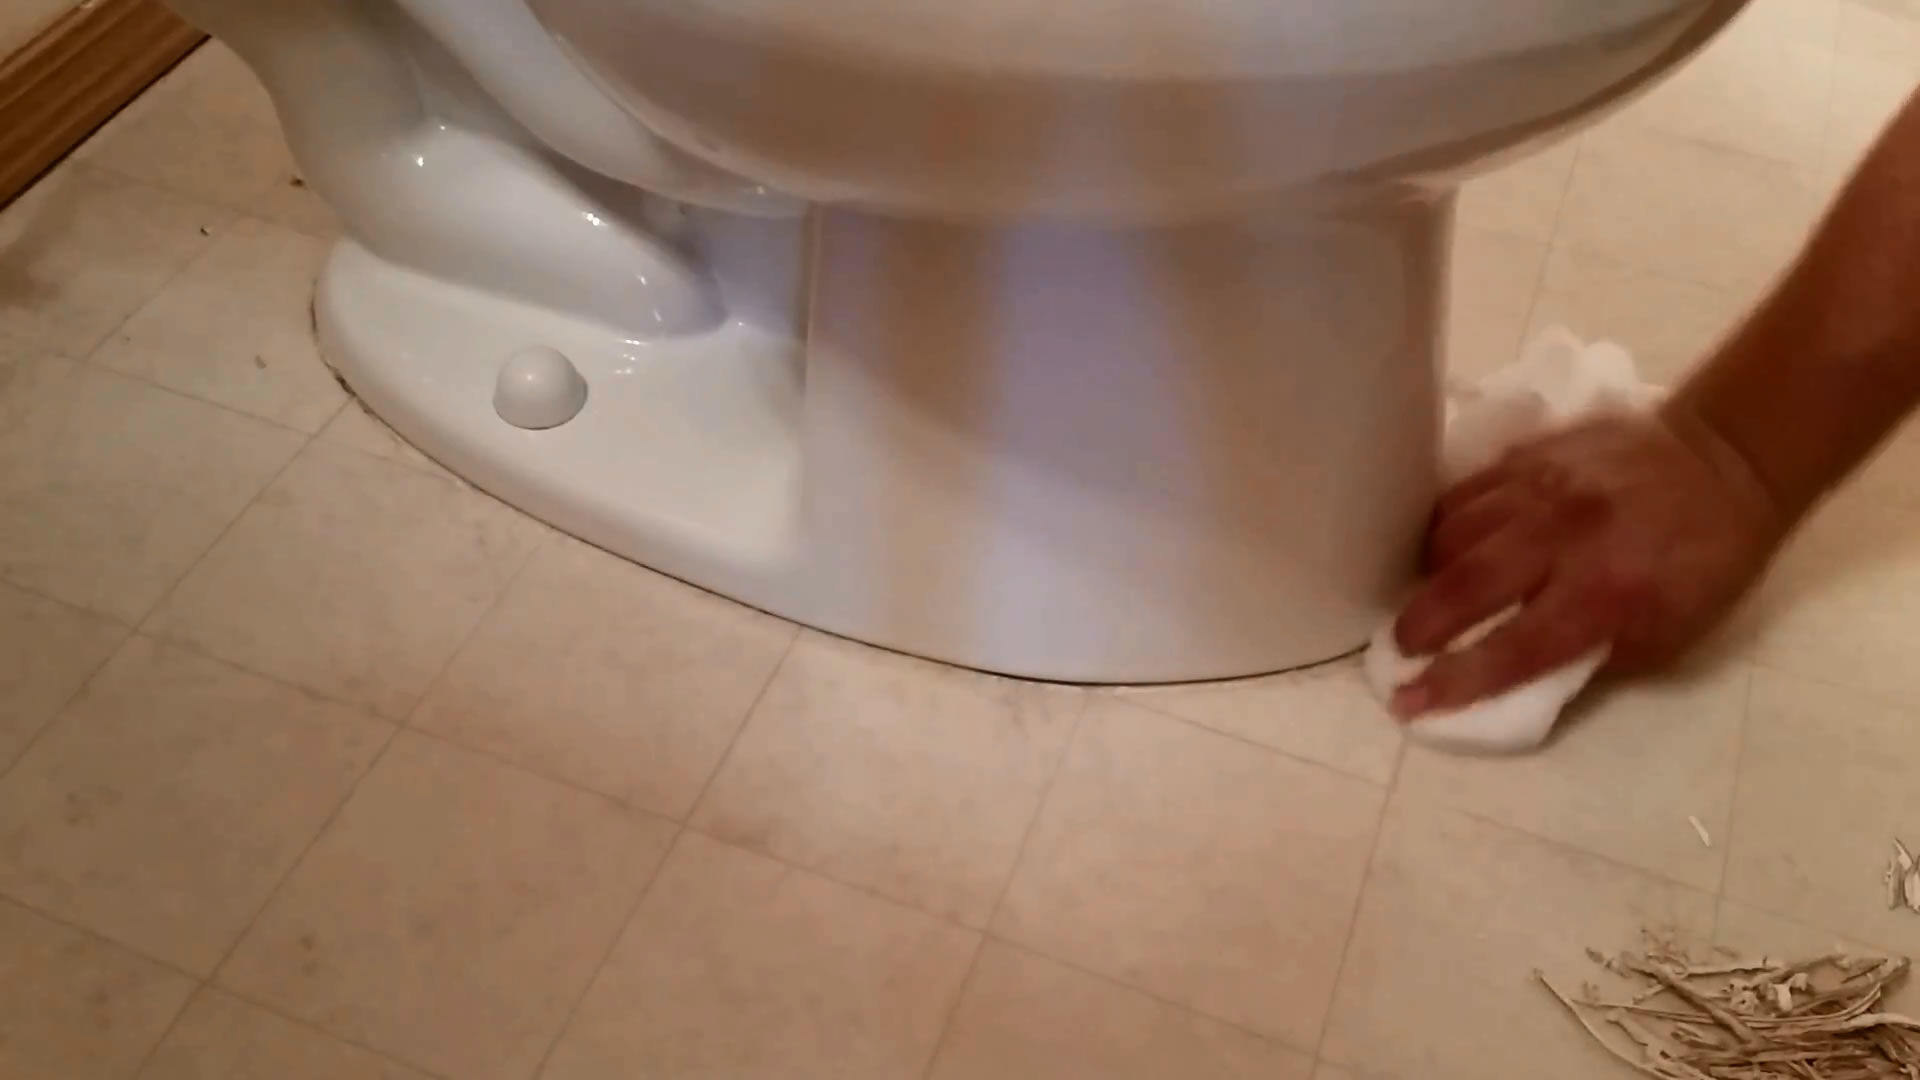
Next, carefully caulk all around the base of the toilet. You can use a mold resistant silicon caulk, but be warned, this type of caulk can be difficult to apply evenly and is hard to clean up if you get sloppy. You can use an ordinary household caulk as well, which is easier to apply and clean up but may need periodic maintenance in the future.
Finally, install your toilet seat, wash your hands, and enjoy a cold one for a job well done!