13 Jun Replacing a Laminate Bathroom Countertop & Sink
Installing a laminate countertop can be completed yourself with a few tools, and you can follow these simple instructions to replace a countertop and install a new sink as well.
Table of Contents
Remove the Sink
Shut off the water supply by turning off the water valve underneath the sink. Take out the bathroom sink. Remove any objects off the countertops. Disconnect the faucet from the water lines by unscrewing the nut underneath the sink that attaches the sink to the waterlines and it will be near the top of the lines. Undo the sink from the drain line by unscrewing the nut that attaches to the bottom of the sink, called the sink basket, with a wrench. Unscrew the clips that connect the sink and take it out.
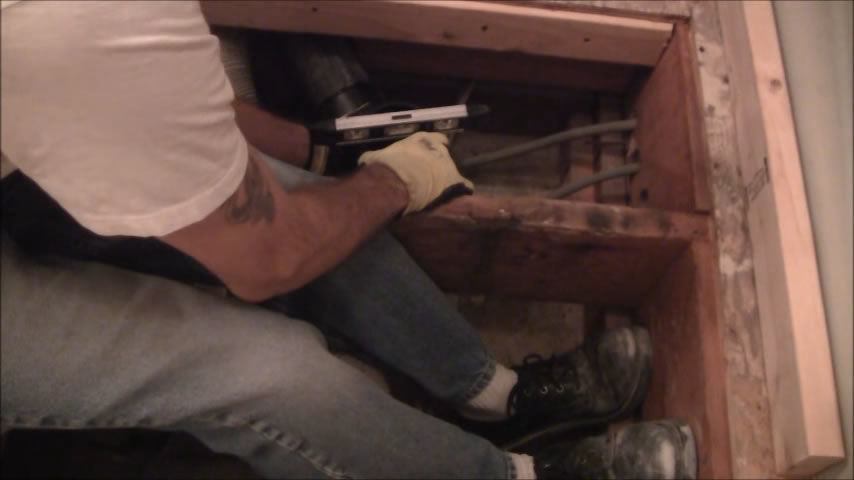
Take Off Old Laminate Countertop
Remove the old laminate with a heat gun and a 4-inch putty knife. Apply the heat and use the knife to lift up the edges. Do not get too close to the laminate or it could catch on fire. Keep a fire extinguisher nearby just in case. Look under the sink to make sure the countertop is not held on by screws. If it is, unscrew with a screwdriver.
Sand the Surface
Smooth out the plywood that was underneath the laminate with medium grit sandpaper, until the surface is smooth. Attach the sandpaper to a sanding block, so it is easier. Use a carpenter’s level to make sure the area is even, according to www.selfhelpandmore.com.
Cut the Countertop with a Saw
Measure the space for the new laminate and use a saber or circular saw to cut the edge pieces. Apply contact cement to the edges of the countertop and to the back of the laminate pieces. Push the laminate in place and use a trim router to make it fit flush. Cut the countertop pieces and leave a 1/2 inch of extra space. Add contact cement to the countertops and back of the laminate. Set wooden dowels on top of the countertops, perpendicular to the wall while the cement dries.
Install the Countertops
Place the cement on top of the dowels after it has dried. Align the back edge of the laminate with the wall and pull the dowels out from underneath. Start in the middle of each piece and work towards one edge and to the other, pushing the laminate from the middle out, as you remove the dowels. Smooth out the surface with a 3-inch roller. Use a trim router to get rid of any excess material. Sand the edges if necessary.
Tips for Replacing Countertops
- Make the hole for the sink after replacing the countertop. Cut a hole in the middle with the trim router and put in the sink.
- You may need to apply 2 or 3 coats of contact cement to make the laminate stick.
- A hammer and a utility knife can be used to take off the laminate countertop by gently pounding the knife with the hammer around the edges.
- Use laminated plastic sheets of 1/16″ thickness for flat surfaces and laminated plastic of 1/32″ thickness on vertical surfaces.
How to Install a New Bathroom Sink
Installing a new sink is both an easy and inexpensive way to give a bathroom a new feel. First, make sure you visit several plumbing or home improvement stores to find the sink that will work best for your bathroom. There are several things to keep in mind while you shop. Make sure to read the article about plumbing works in your home, as well.
First of all, you’ll need to consider the style of the bathroom. You want your sink to match the style and color of the toilet and other fixtures, and complement the wall and floor covering colors.
Making sure the sink will fit is an important step. Measure out the width and depth in your bathroom carefully before going to the store to make sure you get the size that’s right.
Finally, visiting stores that carry more individual fixtures, like specialty home stores, can turn up some unexpected finds. An especially green way to loom is to go to salvage yards and reuse old or retro fixtures for less money.
Plumbing
The actual plumbing can be tricky, but not if you take your time and follow directions carefully. First, you need to cut the capped copper pipes approximately an inch and a half from the finished wall.
Now assemble the faucet, according to the directions that came with the package.
Attach the escutcheon, coupling nut, compression ring, and valve. The valve outlet should come up over the compression ring. Now tighten the coupling nut until it is very tight, and connect the trap to the drain pipe.
Turn it on
Next, you’ll want to turn the water back on, but before you call it a day, make sure you run the water to check for leaks throughout. Now you’ve got a new sink that will make your bathroom look like a brand new place.