18 May Installing Drywall By Yourself
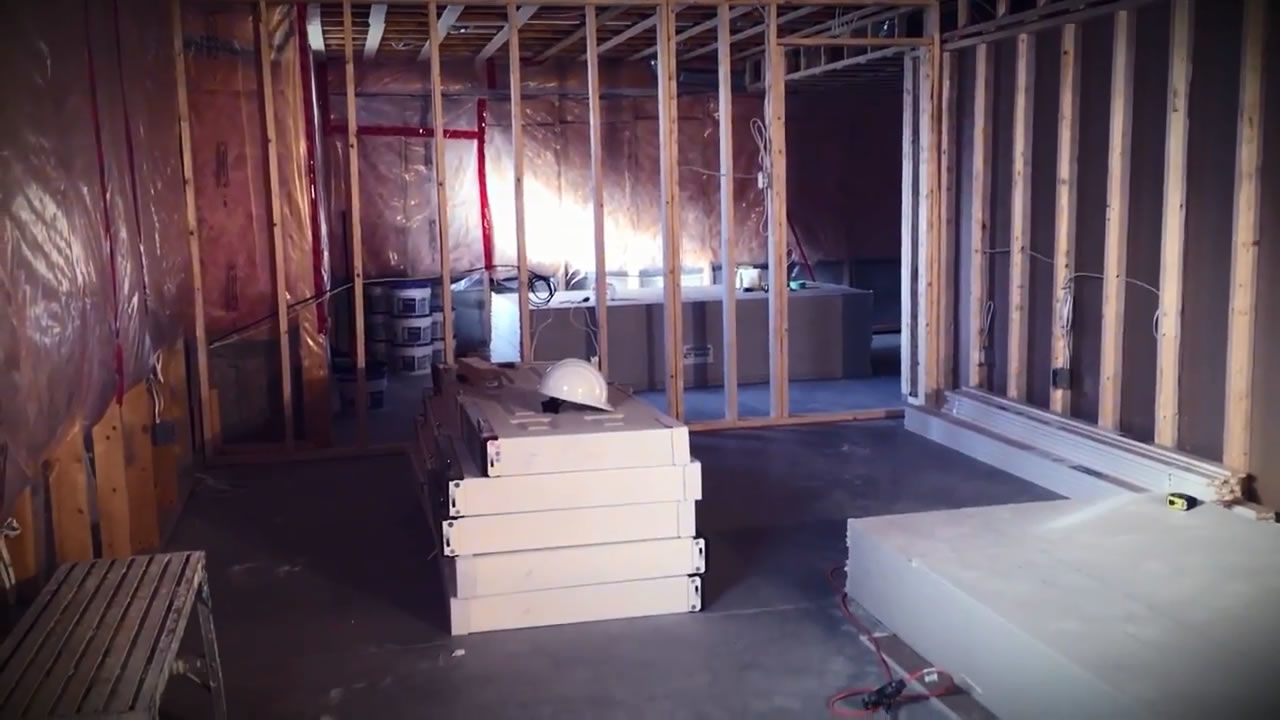
Hanging drywall, or Sheetrock as it’s also called, is easier than plaster if the metal or wood framing is proper. Gypsum board is an economical wall finishing product.
The history of drywall begins around 1915. The major component is the mineral gypsum, which is processed into sheets and then wrapped in paper. A variation of the basic drywall is greenboard, which is designed to be more moisture-resistant, and up until recently was the preferred backer for ceramic tile in bathrooms. Today, cement fiber backer board is preferred, and mandated by the local building code in many areas. Other types include ultralight panels and acoustical drywalls. Lets look at the different types closer:
Table of Contents
Types of Gypsum Wallboard
- Conventional drywall. This is the kind you will most often encounter. Common sizes are 4′ X 8′, 4′ X 10′, and 4′ X 12′. Most residential applications call for 1/2” thickness and commercial projects call for 5/8”. It is also available in thinner sizes like 1/4” which is useful for crafting things like arched case openings. Sheetrockers wet the board liberally with a sponge and water until it’s pliable enough to bend into the arch shape without breaking either the gypsum or the paper.
- Greenboard. Identifying these sheets is easy, as the name is self explanatory; the finish side is green. This building material is engineered to be moisture-resistant and used to be widely used as ceramic tile backing in bath shower enclosures. Now, fiber cement backer board is the norm. The color contributes nothing to its moisture resistance; it’s just there to distinguish it visually from regular drywall. This comes in handy since an increasing number of residential drywallers are now illegal aliens who can’t read English.
- Sheetrock brand UltraLight Panels. This product is a blessing for hanging ceilings (also known as lids in the trade) due to its light weight. These sheets are 30% lighter than traditional Sheetrock and the paper facing is 100% recycled.
- EcoRock drywall substitute. EcoRock has entered the construction arena as a direct result of the green, sustainable building movement. It uses waste materials instead of a gypsum core and the manufacturer claims that it costs 80% less to manufacture as compared to traditional sheets. The downside is that it costs roughly twice as much. It’s not cheap or easy being green, to paraphrase Frank Sinatra.
- Noise-reducing and acoustical drywall. QuietRock is arguably the best known product in this category. Where might this come in handy? It’s a great solution for converting a room into a media room, home theater, or recording studio for the budding teenage garage band. It can be installed right over the existing wall.
Ensure Proper Framing Before Hanging Drywall
Drywall, or Sheetrock (The term Sheetrock is actually a brand name), is 4′ wide. The length is 8′ or longer by multiple of 2′; 8′, 10′, or 12′ in most cases. So it’s important that framing is level, plumb, and spaced as dictated by the local structural building code.
The spacing is almost always 16” or 24” on center. The reason for this is so the drywall sheets and the framing match so the drywallers can make good joints. Before beginning, make sure the framing is complete and add cripples (short studs) where needed. This is usually between headers and top plates.
Drywall Screws or Nails?
With metal framing, screws are always used. With wood, either will do, although screws are gaining in popularity because nails may “pop” over time. To minimize popping, always add a “helper nail”. In other words, an additional one within an inch or so.
Screws are usually installed with a screw gun because they have a clutch and an adjustable nose to allow the screw head to be set at the proper depth. There are two types of screws; fine-thread and coarse-thread. Fine is for metal or steel framing, and the coarse ones are for wood.
Nails are hammered in with a drywall hammer or drywall ax. It has a wide, curved, waffle-textured face. You can read another longer article about nails here.
Installing Drywall on the Ceiling
First, you have to install drywall on the ceiling. Ceiling drywall should always be 5/8″. Using a drywall lift, position the piece on the lift and turn the wheel until the drywall is a few inches from the ceiling. Reposition the drywall a little and turn the wheel until the drywall hits the ceiling. Then push the piece into the corner and screw a 1 ¼” screw into one of the corner ceiling joists to closer than 6″ from the wall. Insert a screw on the wall side of the drywall all the way down and start working toward the opposite side. Screws should be installed about 12″ apart along the ceiling joists.
Cutting Holes in the Drywall
When you need to cut a hole for a can light or a light fixture box in the ceiling, measure from the last piece you installed and the edge of the wall or the edge of another piece to the middle of the hole. Draw a picture if it helps. Since the hole is round, measure the diameter of the light fixture that is going to be exposed and divide that by 2. This will give you your radius measurement. Lay your tape measure on a flat surface and take a compass to match up the radius onto your compass. Then make a circle with your compass, using your center mark from your original measurement, and cut the circle out with a Roto Zip tool. A Roto Zip is a small router that comes with cutting bits as well. It is widely used by drywall professionals. If you have a square hole ever, just measure to the corners and connect the dots. If you are a little off, use your Roto Zip tool to trace around the perimeter of the light fixture or can box. It is very important to stagger your drywall sheets so as to not get tear lines down the road.
Hanging the Sheets
For installing drywall on the wall, the sheets should be hung laying horizontal and should be ½” sheets. The top sheet always has to be installed first as it supports the ceiling drywall. Make sure you give the sheet a good thrust up when setting the sheet into place. Then install a series of screws to hold the sheetrock in place. The screws should be installed every 12″.
The bottom sheets should be snug to the bottom of the top sheet. Use a piece of 2×4 and a flat bar to hold the drywall in place when you step on the back of the pry bar. Install screws every 12″. There should be a ¼” to ¾” gap at the bottom. This is good as it allows some air movement and helps your house breath.
Some Construction Tips to Remember:
- Measure twice, cut once.
- Carefully measure locations of electrical outlets and cut them out with a drywall saw or a RotoZip spiral saw.
- Never make a joint at the edge of a door or window opening, always on a cripple.
- Use a drywall lift (also called a panel lift) to hang ceilings (also called lids).
- Remember that sloppy workmanship will make taping and floating (drywall finishing) much harder.
- Across the 4′ direction, insert one screw 1” from the edge, and another three in the field.
Tape and Mud the Joints
Now that you have the drywall hung, it is time to tape and mud the joints. You will need mesh tape and paper tape for the corners. Tape all the seems except the corners wit the mesh tape. Always use a lighter weight joint compound to avoid shrinkage. Apply a coat with a small trowel over the mesh taped lines. Make sure you are only pulling mud. Go back over immediately with a larger trowel with mud on it to spread the mud over a wider area and increase that look of a flat surface.
For corners, use an old paint brush and paint the joint compound into the corner. Use a lot of joint compound. Then press the paper tape by the seam and press it gently on the mudded corner. Use your smaller trowel with mud on it to push the paper into the corner while at the same time applying mud over the paper.
Repeat this process with the ceiling and wait at least 8 hours to dry. Now go back and sand the seams until they feel smooth. There should not be any ridges or bubbles. Now apply another coat of mud using only the larger trowel. Also, go over the nails with a coat of mud. This requires the small trowel and a very small amount of mud. Repeat this process at least 3 times.
Texture
Once you are satisfied with the wall, it is time to texture. A hopper and an air compressor can be rented. Mix the texture up with water in a 5 gallon pail and dump the contents into the hopper. Then spray the texture in a diagonal motion to cover the most space. After you spray the texture you can either let it dry or use your trowel some more to “knock down” the texture for some added character. Let the texture dry for at least 8 hours.
Congratulations! You have just installed drywall and textured it. Now all you have to do is prime and paint.
Word of Caution: The Danger of Asbestos
With the recent trend of house flipping in the United States, there is a good chance that many of the amateur remodelers are not fully aware of some of the dangers associated with it. Anyone who works on a house built or renovated between 1950 and 1980 may be exposed to asbestos in drywall dust, floor tiles or drop ceiling tiles. If your house was built during that time and has not undergone major renovation since, it is best to contact professional asbestos removalists called asbestos abaters to advise you on this, before you start the project.