15 Jan Energizing the Great Outdoors
Bringing electricity out to your yard allows you to provide safety on walkways and steps, provide added security and lets you enjoy your yard more often. Low-voltage lighting is the easiest and safest way to achieve this.
Low-Voltage Lighting Installation – (You will need an outside outlet protected by a GFCI receptacle. If you do not have a GFCI protected outlet, help with installation is included.) One of the benefits of running low-voltage lighting is that you can make it a DIY project regardless of your experience level. Low-voltage lighting kits are readily available at hardware stores and home improvement centers. Outside of a few tools and materials, these kits come with everything you need: a weatherproof transformer (to drop your 120-volt power to around 12 volts), lights with mounting posts, connectors and power cable. You will need to supply a screwdriver, wire stripper, wire nuts, a weatherproof outlet cover (if there isn’t one already installed), a spade and a tube of silicone sealant.
Start by locating an outside outlet near where you want to install the lights. This outlet should be weatherproof and protected by a Ground-Fault Circuit Interrupter (GFCI) outlet. The GFCI outlet protects you from a short circuit in locations which are subject to moisture, including garages, basements, kitchens, and bathrooms, in addition to outdoors. Leaving the transformer unplugged, mount the transformer on an outside wall near your outlet, attach the cable supplied with the kit to the transformer and lay the cable along the area you want to light.
Begin connecting the lights to the cable, following the manufacturer’s instructions, as there are as many different ways to connect the lights as there are manufacturers. Leave yourself extra cable between lights so you can move them around if the placement isn’t right the first time. If you use wire nuts to make the connections, squirt a bit of silicone sealant into the wire nut after you make the connection. This will protect the connection from moisture. Once all connections are made, position the lights and push the mounting posts into the ground.
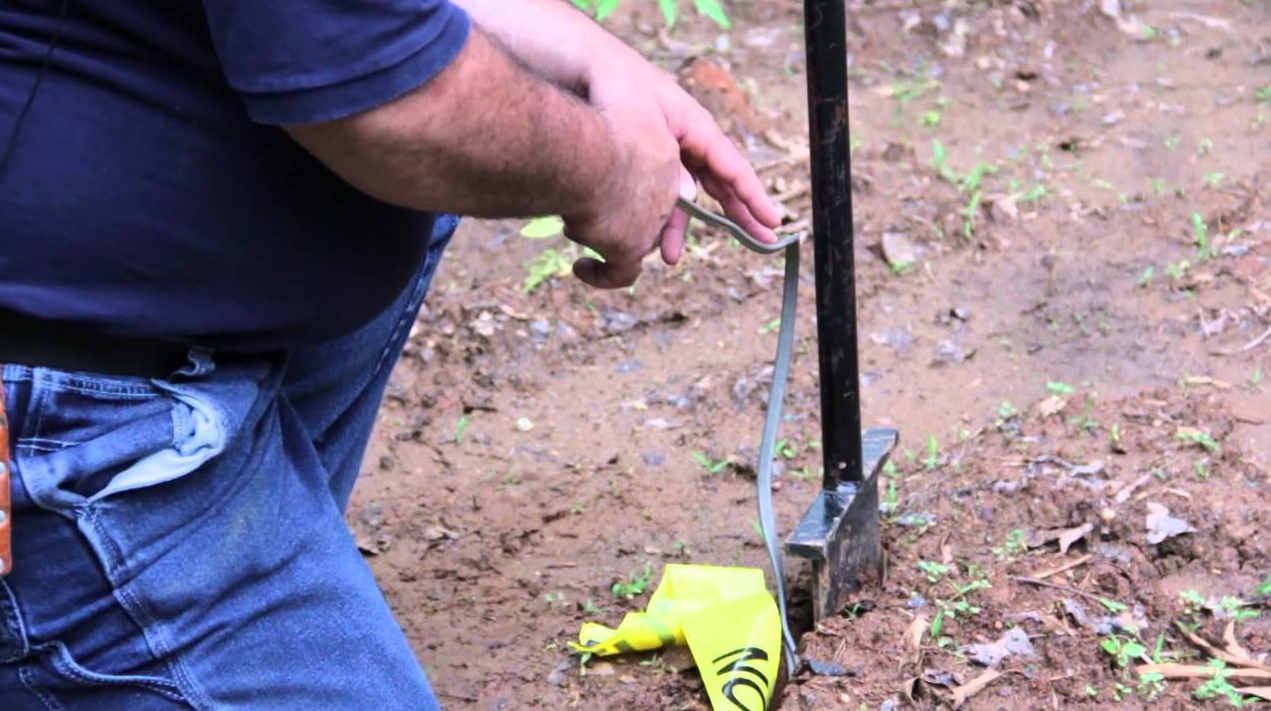
To make for a neater installation and protect against tripping hazards, bury the cable between the lights by opening up a slit in the ground with the spade. Push the spade about 12 inches in the ground and rock it back and forth to open a gap. Continue until you have a small trench between the lights. Place the cable into the trench and press the trench closed with your fingers. Once this is done, plug in the transformer and check to see that all the lights work.
Replacing an Old Receptacle with a GFCI Receptacle
This job moves up a rung on the DIY ladder of experience. You will need to be working with the power to the outlet on at one point, so you will need to use a bit more caution. If you feel you’re not ready to work with live electricity, either call a professional electrician or ask another DIYer to help you with the project. It would also be a good idea to pick up an electrical improvement book to read before starting this project since pictures are always helpful. There are lots to choose from. In addition to the tools and materials already listed, you will need a neon voltage tester, a GFCI receptacle and a weatherproof outlet cover which will fit the new GFCI receptacle.
First, make sure the power to the outlet is off. Remove the outlet cover plate and the 2 receptacle mounting screws, which are found above and below the receptacle. Carefully pull the receptacle from the box and use the neon voltage tester to be sure the power is off. A neon voltage tester works by touching one probe to a live wire and the other to the neutral or ground wire. If the bulb lights, there is power running through the wires.
Once you have determined the power is off, check the number and color of the wires. You should have at least three wires, a black, a white and a green or bare wire. The black should be the hot wire, the white is neutral, and the green (or bare), the ground. Most GFCI receptacles come prewired with two sets of wires, one marked “LINE” and the other “LOAD”. Find the pair of wires marked “LINE” and connect the two black wires together and the two white wires together. The other two wires marked “LOAD” should each get a wire nut on the end. Sometimes there may be another set of wires attached to the old receptacle. These feed other outlets in the same circuit. In this case, you will need to use your neon voltage tester to find the live wire. With the wires removed from the receptacle and the ends of the wires as far apart as you can get them, have someone turn back on the power to the circuit. Carefully touch one probe of the voltage tester to the ground wire and the other probe to each of the black wires, one at a time. The black wire that causes the tester to light is the live wire. Remember which one it is and have the power turned back off. The live pair of wires will be attached to the “LINE” pair of wires on the GFCI receptacle and the other pair of wires will be attached to the “LOAD” pair of wires. (Remember, black to black, white to white.) Finally, connect the ground wire to the grounding screw on the receptacle.
Replace the GFCI receptacle back into the outlet box, carefully folding the wires back inside as you go. Replace the holding screws, add the weatherproof outlet cover and turn back on the power.
All that’s left to do is wait till dark and enjoy the evening in your yard. If you need some ideas, Moonlight Madness might help keep you from being in the dark.


