12 Jun Build a Window Seat with Storage Units
One thing that most homes have in common is a lack of storage units. And oftentimes, the space in front of windows is under-utilized. Why not kill two birds with one stone and install an attractive window seat that doubles as storage space?
It’s a good idea to install solar window film to increase comfort and to save money on utility bills while cooling and heating the home.
Table of Contents
Designing the Window Seat
It’s a given that the dimensions of the window are not going to change, so that’s a good starting point. The seat can’t be any higher than the bottom of the window. The one variable is the bottom strip of window trim or casing. The seat can come up to the bottom of the trim or the trim can be removed to gain a couple more inches in height.
On the other hand, if the window is over 18 inches or so, the window will have no impact on the seat. 18 inches is an acceptable height for a seat, although going a few inches, either way, to allow for individual tastes is certainly an option.
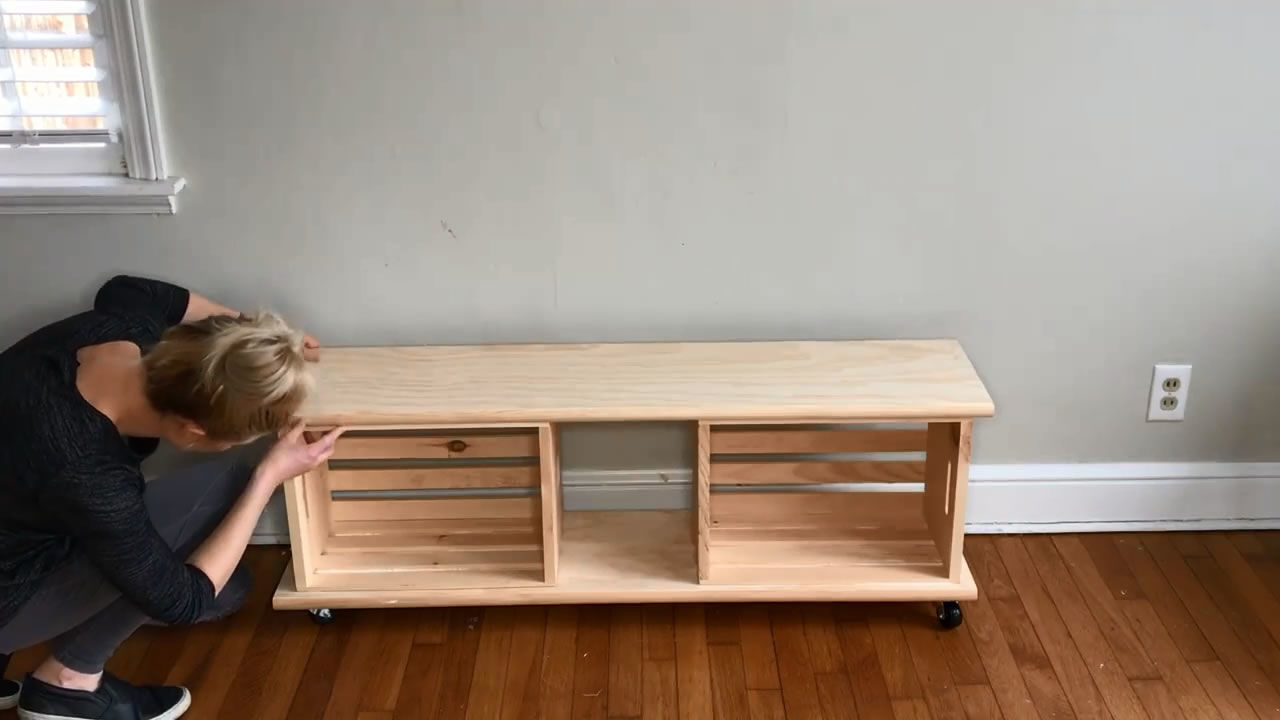
The basic design in most cases is simply a rectangular box, with or without doors similar to kitchen cabinet doors. For storage purposes, the two common styles are front access and hinged top.
To take the green and sustainable building approach, just use salvaged cabinets if some are available that fit the space.
Hinged Seat Storage or Front Access
A hinged seat can work well for storing items that aren’t used on a regular basis. The issue is that by design, things are stacked on top of others. Think a hope chest or an old-style trunk. Another consideration is that extra material and woodworking hardware will be required. This includes hinges at a minimum.
Front access can be either an open design or closed with cabinet doors. An open design is the best way to go if space is going to be used as a bookcase or for a knickknack display area as an alternative to alcove shelving.
If cabinet doors are installed and the window is in the kitchen, why not use the space for storing dishes, cookware, and small kitchen appliances?
Basic Window Seat Construction
As mentioned above, the structure is basically a box. The most basic way to build it is to construct a basic frame and sheath it with plywood that has a finished side. If the seat is to be attached to the wall, the top rear support is a ledger board screwed to the studs.
The baseboard should be cut away or removed and a framing member matching the ledger board should be attached to the wall at the floor. The remainder of the unit is to build off these two framing members.
Remember to use vertical “studs” in the front of the unit framing for support. 24 inches on center is an acceptable spacing. Adequate bracing should be added to the seat area appropriate for the size of the seat. When deciding on the depth, allow a bit extra if the seat will be used for napping.
Finally, add cushions or pillows and relax.