10 May Attic Ventilation: Venting Hot Air
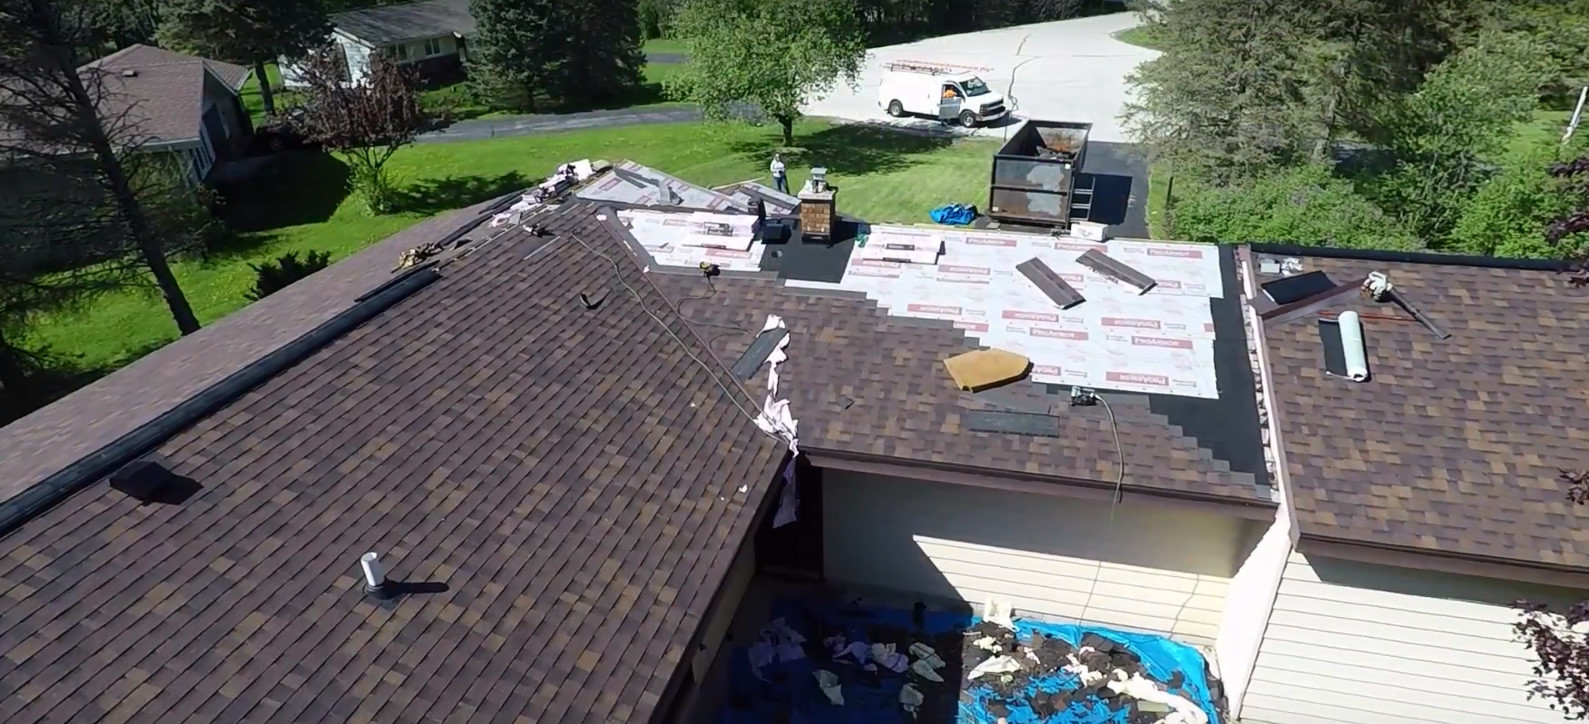
Attic Ventilation is essential for exhausting hot air, to ease the load on the air conditioner, and to lower utility bills. This can be done with roof vents and fans.
There are two airflow components that work in tandem to vent hot air from inside the roof to the atmosphere: the air inflow component and the air exhaust component. If these are balanced, two things will happen.
The first thing is that heat will be reduced, resulting in lowered energy consumption because of fewer air conditioning cycles. The second thing is that the circulating air minimizes the possibility of humidity and moisture build-up. The chance of mildew and toxic mold are thus reduced.
Table of Contents
Air Inflow Components: Soffit Vents
Soffit vents are the most common method of providing an entry point for exterior (cooler) air into the roof space. These are rectangular rigid-louver vents with a screen, usually fiberglass, to keep bugs out.
They are attached to the horizontal surface of the home’s soffit between rafters. Ideally, they should be evenly spaced between every other rafter for best air flow. They’re easy to install. Mark the spot with a template, cut it out with a jigsaw, and attach it to the soffit with coarse-thread drywall screws.
It’s important to ensure that the opening isn’t blocked by attic insulation.
Air Exhaust Components
- Turbine vents – Traditionally, the most common device used to draw hot air from the attic, it’s also called a whirlybird fan. It operates in a simple manner; the top part is a metal globe with fins. The fins are angled to catch the wind and spin the globe on its base. The spinning action draws the air from the soffit, through the attic, and exhausts it to the atmosphere.
- Ridge vents – Ridge vents are commonly used nowadays to vent the attic space in both new construction and on re-roof jobs. They’re mounted along the home’s roof ridge and blend in nicely since they’re covered with matching shingles. They’re equipped with a baffle to keep external weather such as rain from entering the attic. The baffle also creates low pressure, which helps draw the hotter air out.
- Power roof vent – The power roof vent draws the air out in a similar spinning fashion to the turbine vent, but doesn’t depend on the fickle wind to power it. This vent is triggered on and off by a thermostat mounted inside the attic and is powered by the home’s electrical circuitry.
- Solar powered roof-mount attic vent – These units are similar to their utility-provider powered model except that they depend on a solar panel. This puts them in the green-building practices arena since they use a renewable power source.
- Gable-mounted power attic vent – Like the power roof vents just covered, there are two types of gable-mounted units, one wired to the home’s circuits and the other solar powered. The difference is that they are mounted vertically on the gable, the triangular wall area between the two sides of a sloping roofline. The better models include a humidistat in addition to a thermostat.
How to Install a Power Attic Vent
Power attic vents are active; turbine (whirlybird) and ridge vents, passive. Temperature triggers power vent operation; air flow/negative pressure operate passive vents.
As a caveat, it should be noted that ridge vents with baffles are more effective in using negative air pressure and some power vents incorporate a thermostat and humidistat. Removing humidity from the attic is also important to the health of the home and family; it reduces the chance of mildew and toxic mold.
Home Power VS Solar Power Attic Vents
These are the two types of attic and roof ventilation devices considered in this article. The home powered ones simply tie into an available electrical circuit. Obviously, the solar-powered fans use a small solar panel to power them up.
Two elements to consider are the cost of use and the desire to adhere to the green home building concept. Solar energy powered vents are trendy, hip, and planet-friendly. However,
- Solar units are expensive – although the cost has come down, still expect to shell out $200 – $300.
- Home-powered ones cost much less money to operate than they save in utility bills.
- Solar panels only operate while the sun shines.
Determine the Proper Size Fan
Attic vent fans are rated at CFM (Cubic Feet of air moved per Minute). To determine the size for a particular home, first determine the attic’s square footage. Remember asking the high school algebra teacher, “Aw, when will we ever really use this stuff?” Well, this is “when.”
Multiply the square footage by 0.7; this will give the CFM fan rating. For example, for a 2000 square foot attic space, 2000 X 0.7 = 1400 CFM.
Locate the Best Vent Position
Heat rises, so the vent should be located close to the roof ridge. Locate the center of the home with respect to left and right. This is approximately where it should be located. Shift it slightly right or left as needed to position it between rafters.
The hole will be cut from the outside of the roof but the rafter location is only visible from the interior. The best way to resolve this little conflict is to make a cardboard template of the throat of the vent. With any luck, this will be right on the box.
Hold it against the sheathing from underneath (inside the attic) and drive four nails up through the roof (top, bottom, left, and right).
Cut the Vent Installation Hole
Using the nails and the template as a guide, use a utility knife to cut away the shingles and roofing felt.
Hint – Using gloves will save knuckle skin when the knife slips. And it will slip, make no mistake about it!
Now, use a jigsaw or sawzall reciprocating saw to cut out the sheathing.
Note – All cutting can be done with the jigsaw, but the blade will tend to dull quickly, and the heat from the friction on the shingles will melt and load up the teeth with asphalt.
Install the Vent
- Remove the dome from the vent.
- Apply caulk generously to the bottom of the flange.
- Locate the side of the flange that reads “Up”.
- Slip the flange up under the shingles.
- Nail the flange down with roofing nails.
- The “up” side of the flange will be below the shingles, the “down” side will lay on top of the shingles.
- Apply roof cement liberally to all nail heads and anywhere water might make an entrance.
- This is no time to be pretty; it won’t be seen from the ground.
- Replace the dome.
- Wire up the fan motor according to manufacturer’s instructions and local electrical building codes.
- In most cases, the thermostat should be set on 90 degrees. This will cause the fan to spin at 120 degrees and power down at 90.