16 May Yes, You Can Fix a Leaky Faucet
Leaky faucets are just one of many home problems that can strain the budget (along with other leaks at home). With just a little knowledge and a few good tools, anyone can fix a leaky faucet.
Whether a leak is caused by lime building up or by a washer that needs replacing, here are the guidelines for fixing a dripping faucet.
Table of Contents
Tools For The Job
- flathead screwdriver
- new washer
- masking tape
- Phillips head screwdriver
- 8″ adjustable crescent wrench
Repairing a Leaky Faucet
- Turn off the water to the faucet. Look underneath the sink for pipes that run up to the faucet and you’ll see a handle that can turn off the water. Turn that handle clockwise to turn off the water. Just remember the old saying, “Righty Tightie, Lefty Loosie”. Turning the handle to the right tightens the handle and turns off the water.
- Plug up the sink drain so as not to lose anything small, like screws or washers.
- Take the faucet handle off. Take out the screw holding it on with a screwdriver. If the cap is plastic or metal, it will have to be pried off with a flat head screwdriver. Once those screws are removed, pry the handle off.
- Once the faucet handle is off, remove the old washer. Take this to the hardware store and get a new washer that will replace the old one.
- Replace the faucet handle back on its post and put the screw back in.
- Tighten until it is ‘hand tight’.
- Turn the water back on by turning handle under the sink counter-clockwise.
- Check the faucet. If it still leaks, try tightening the screws on the handles a little more. If it still leaks, try using a LIme Away product to clean the area completely. Lime buildup can make a faucet leak.
- Prior to fixing a leaky faucet, identify which one you are working on. Turn off the water at the fixture shutoff valve and open the faucet to drain the pipes.
Valve Faucets
A valve faucet has a valve assembly on each side, one for hot and one for the cold. Moving the handle from side to side controls the water mix; moving it forward and backward controls the flow.
If the spout drips, replacing the O-ring might be an easy fix. A leak at the base of the spout may be due to a faulty spout. If the handle is loose, a simple adjustment to the handle screw or cam assembly at the back of the faucet can remedy it.
Whatever you do, just remember to shut off the water supply to the faucet first.
Ball Faucets
In a ball faucet, water flows when openings in the rotating ball align with hot and cold water inlets in the faucet body.
Fix leaks around the spout sleeve by replacing the O-rings on the faucet.
Disc Faucets
In a disc faucet, the mix and flow of hot and cold water are controlled by two discs inside the cartridge. Raising the handle will lift the upper disc, controlling the amount of water flow. Rotating the handle will turn the lower disc, controlling the mix.
Most often, the rubber inlet and outlet seals in the cartridge are the problem and must be replaced. But if you have a leak at the base of the faucet, a seal may be worn out.
Compression Faucets
If a faucet has separate hot and cold water handles, it’s called a compressions faucet (or a stem or washer faucet). In this faucet, a rubber seal washer is secured to the stem.
If water leaks around the handle, tighten the packing nut. If that doesn’t work, replace the packing nut.
If the faucet leaks from the spout, either a washer is defective or a valve seal is corroded.
Before doing any work, turn off the water at the shutoff valves or at the main shutoff valve.
Cartridge Faucets
A cartridge faucet has a series of holes in the stem assembly. Usually, leaks occur because of worn O-rings or a faulty cartridge.
First, look at the O-rings on the faucet body. If they’re in good shape, remove the cartridge. if the cartridge is worn, replace it with a duplicate.
These instructions will take the novice step-by-step to repair a faucet, no matter the type. With a strong belief in oneself, the job can be completed without unnecessarily spending hundreds of dollars to pay the plumber.
Repairing a Leaky Outdoor Faucet
Outdoor faucets are handy for allowing you to bring your water to wherever it is needed outside. By using a garden hose extension, you could employ your outdoor faucet (also called a hose bib) for spraying, washing and sprinkling your lawn.
Unfortunately, because these faucets spend their lives outside, they are exposed to the temperature extremes that can cause plumbing damage. The best way to fix a leaky outdoor faucet is to dismantle the faucet itself and have a look inside. The majority of outdoor faucet leaks are caused by a faulty faucet washer, which is easy enough to fix.
Tools Required
- Wrench
- Pliers
- Screwdriver
- Steel wool
- Rubber washer
- Silicone grease
- Pipe thread compound
Shut Off the Water
Shut off the water supply for the outdoor faucet that you will be repairing. How this is done depends on your plumbing setup. In some locations, particularly those in the Northern United States, you may be able to find a separate water shut off valve for the outside faucet in a basement or crawlspace. In other locations, the shut-off valve could be in an outdoor building or shed.
If you can’t locate the shut-off valve in any of those places, you will have to turn off the water supply for your entire house (Be sure to remind everyone that they’re not going to have any water before you do this!). Look for the water meter utility box, which is usually a plastic or concrete box in your front or side yard. The water supply main valve should be located next to the meter. Turn the valve with a pair of pliers to turn off the water.
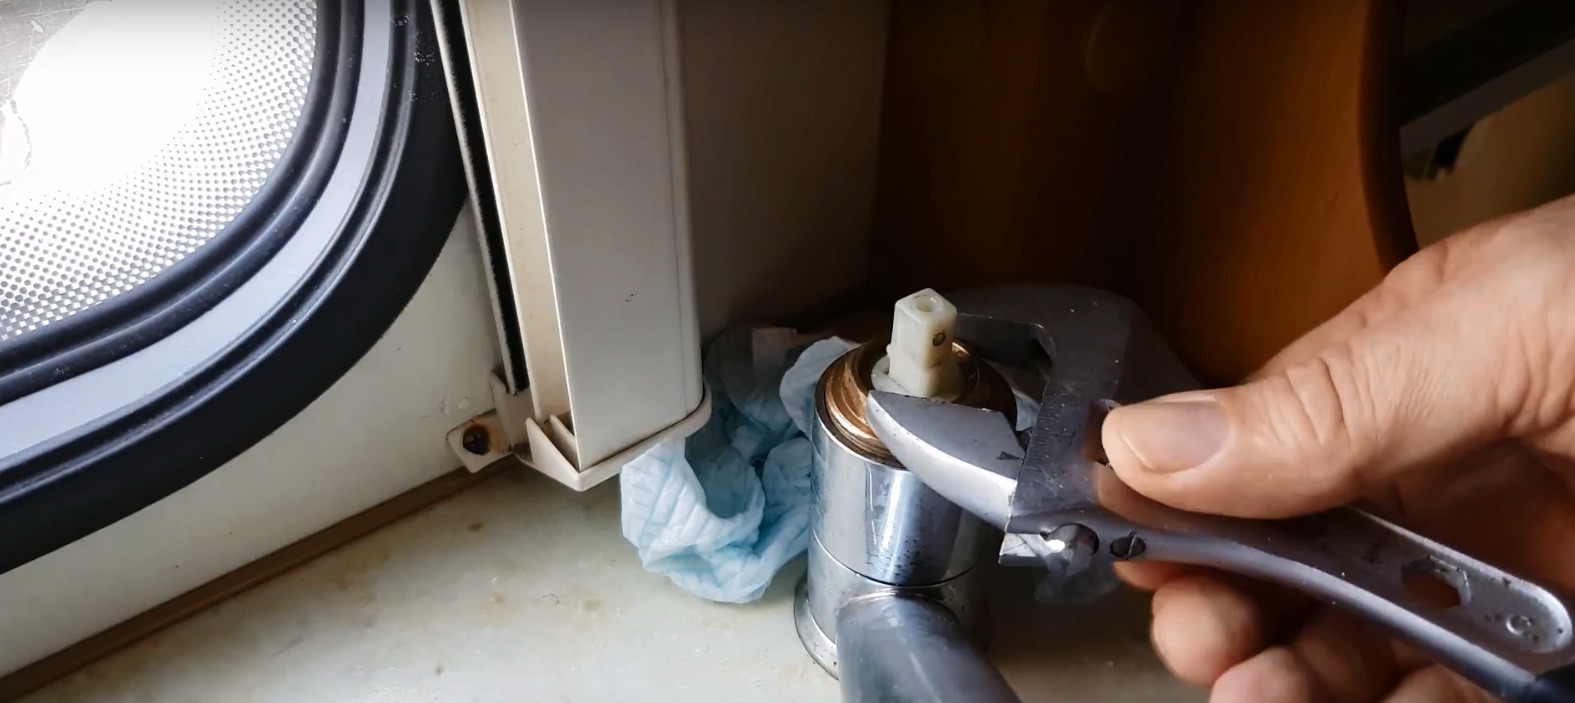
Removing the Valve Stem
Locate the packing nut which is directly underneath the handle. It is hexagonal in shape. Turn this nut counterclockwise with a pair of pliers or wrench to remove the outdoor faucet valve stem. If the nut is stubborn, try spraying with some penetrating lubricant and allow it to soak in. Don’t worry if some water leaks out after you remove the stem. This is normal.
Check the stem for signs of damage or wear. Use a soft bristled brush (an old toothbrush is good for this) to clean off any calcium or silt buildup. These deposits can keep the stem from closing tightly, causing the faucet to leak.
Turn the stem over and examine the rubber washer at the bottom. This, also, should be changed if it shows any tears or cracks. To replace, unscrew the retaining screw at the bottom of the stem with a flat bladed screwdriver. Pull the screwdriver and washer off the bottom of the stem. Insert a new washer into the socket on the bottom of the stem and secure with the screw. Apply a few drops of silicone grease on the outside surface of the washer.
Reinstalling the Stem and Finishing
Use the steel wool to clean the threads on the stem. Remove any old caulk or putty that might be present. Apply a new coat of pipe thread compound to the threads. Insert the stem into the hose socket and thread hand tight. Use the wrench to securely tighten in the pipe. Make sure to align the faucet so that the outlet is pointing straight down.
Restore the Water Supply
Repairing a leaky outdoor faucet isn’t a difficult task and, once finished, you’ll gain confidence in your plumbing abilities and ready to tackle any other kind of leaks.